CI/CD with jenkins and docker multistage build
Nowadays, the main goal of every tech company is to ship often and have user feedback as fast as possible.
There’s many practices and tools in order to accomplish that, but today I’ll focus on continuous integration and continuous deployment.
Atlassian explains very well the difference between continuous integration, continuous delivery and continuous deployment. link here
But I’ll summarize it in few words:
- Continuous Integration: When new code is integrated frequently with automatic builds and tests to be able to detect issues quickly
- Continuous Delivery: Be able to release a new version of an application at any moment and deploy it in lower environments (dev/staging/integration)
- Continuous Deployment: It’s the same thing than Continuous Delivery, except that there are no manual steps from developers commit to production environment.

The plan: pick a random application and put it in a Jenkins pipeline
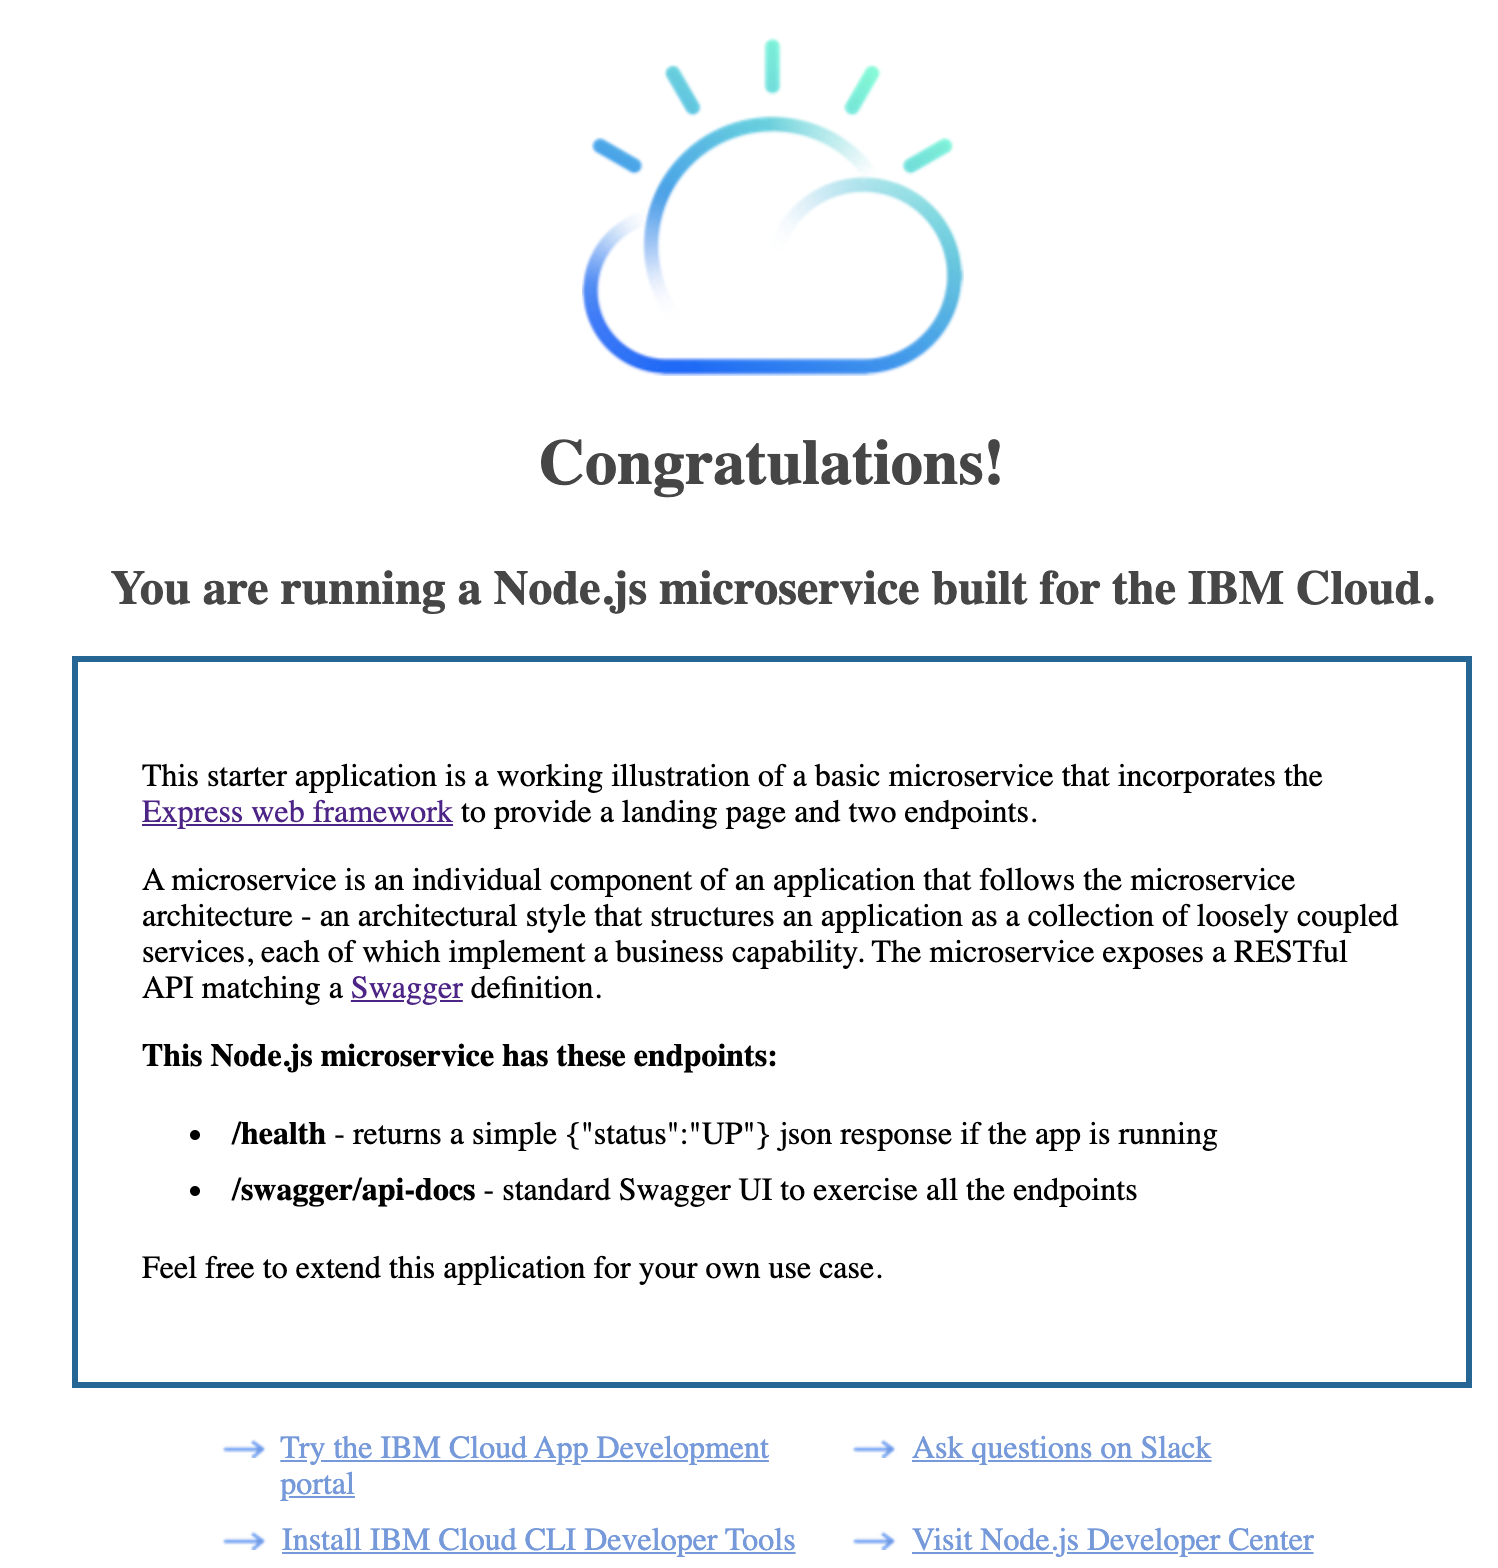
I wanted an application not too complex to deploy with built-in tests. I chose a Nodejs application from IBM: https://github.com/IBM/nodejs-express-app.
For continuous integration and continuous deployment, I chose Jenkins
This time, I go with Jenkins, not because I like it, but because during an interview, I was asked for a proof on using a Jenkins pipeline, I didn’t have any. So here we go!
In a general way, I think it’s always good for a recruiter to see your work, so during the interview, the questions are gonna be concrete and around what you’ve done and what you could have done.
You can found the Jenkinsfile and the kubernetes manifest used in my repo: here
The big fail
My initial plan was to separate my pipeline with the Jenkins stages below:
- Clone git source
- Build docker image
- Run tests <– BIG FAILURE
- Push image to docker registry
- Deploy new code to a kubernetes cluster
Using docker pipeline plugin, I had trouble during the test step to find out why it failed.
It failed, with only an “exit 1” status. So I decided to manually run the docker command used by Jenkins during the build (the command was displayed on the Jenkins console output).
docker run -it -u 997:994 -w /var/lib/jenkins/workspace/nodejs-express -v /var/lib/jenkins/workspace/nodejs-express:/var/lib/jenkins/workspace/nodejs-express:rw,z ptran32/nodejs-express-app:6486807 What ?
For every build, the plugin will run a docker container as Jenkins user, mount the current workspace and set it as current working directory.
Inside the container, I ran “npm test”, it showed that it was a permission issue. Because we are running a container as Jenkins user and mocha tries to create a folder in /app, but doesn’t have the rights to do so.
I resolved that, either by:
- Specifying the -u root parameter in Jenkinsfile (not the best practice, indeed. But avoid me to deal with docker/user permissions)
- Modify package.json and put the test results somewhere else where Jenkins user can write (see below)
+ "temp-directory": "/tmp/.nyc_output", + "report-dir": "/tmp/coverage"
Actually, let’s run the tests in a multi-stage build
I found the docker pipeline plugin painful to use (limited declarative syntax) and the lack of documentation literaly killed me. So I decided to take another approach.
I will include the tests in the image build process with multi-stage builds.
Prepare the multi-stage build and include the tests
First, I wanted to review the original Dockerfile, and see what I could improve.
The result:
- Image size of 55.4MB instead of 354MB
- Use a non-root user instead of the default root.
- Included tests
- Use tini as entrypoint
FROM node:current-alpine3.11 AS build COPY package*.json ./ # Tricks is to create prod dependencies folder for final image # Alongside, we still install all dependencies in order to be able to run tests RUN npm install --only=production RUN cp -R node_modules prod_node_modules RUN npm install FROM node:current-alpine3.11 AS test WORKDIR app # Copy artifacts, sources and tests COPY src /app COPY --from=build package*.json /app/ COPY --from=build node_modules /app/node_modules RUN npm test FROM alpine:3.12.0 AS release # Install nodejs and tini # Create app group/user and folder to host the app RUN set -xe; \ apk add --update nodejs && \ apk add --no-cache tini && \ addgroup -S app && \ adduser -S -G app app && \ mkdir app && \ chown app:app app WORKDIR app # Copy artifacts and sources COPY src /app COPY --from=build package*.json /app/ COPY --from=build prod_node_modules /app/node_modules EXPOSE 3000 USER app # Runtime ENTRYPOINT ["/sbin/tini", "--"] CMD ["node", "server/server.js"]
Prepare the Jenkins pipeline
The Jenkinsfile is split between the stages below:
- Clean workspace
- Clone git source
- Test and build docker image
- Push image to docker registry
- Deploy new release to a kubernetes cluster
pipeline { agent any environment { DOCKER_IMAGE_NAME = "ptran32/nodejs-express-app" } options { skipDefaultCheckout(true) } stages { stage('Clean Workspace') { steps { deleteDir() } } stage('Git Clone Source') { steps { git url: 'https://github.com/ptran32/nodejs-express-app.git' } } stage('Test and Build Docker Image') { when { branch 'master' } steps { script { env.GIT_COMMIT_REV = sh (script: 'git log -n 1 --pretty=format:"%h"', returnStdout: true) customImage = docker.build("${DOCKER_IMAGE_NAME}:${GIT_COMMIT_REV}-${env.BUILD_NUMBER}") } } } stage('Push Docker Image') { when { branch 'master' } steps { script { docker.withRegistry('https://registry.hub.docker.com', 'dockerhub_creds') { customImage.push("${GIT_COMMIT_REV}-${env.BUILD_NUMBER}") customImage.push("latest") } } } } stage('Deploy to kubernetes cluster') { when { branch 'master' } steps { kubernetesDeploy( kubeconfigId: 'kubeconfig', configs: 'deploy/*.yml', enableConfigSubstitution: true ) } } } }
Run the Jenkins pipeline
Here’s the full pipeline after all steps succeed.
GET / ✓ responds with homepage (41ms) GET /health In controller - getHealth ✓ responds with json GET /swagger/api-docs ✓ responds with swagger POST /fake/route ✓ responds with not found page Test health controller In controller - getHealth ✓ should return status UP 5 passing (64ms) =============================== Coverage summary =============================== Statements : 100% ( 34/34 ) Branches : 100% ( 2/2 ) Functions : 100% ( 4/4 ) Lines : 100% ( 34/34 ) ================================================================================ 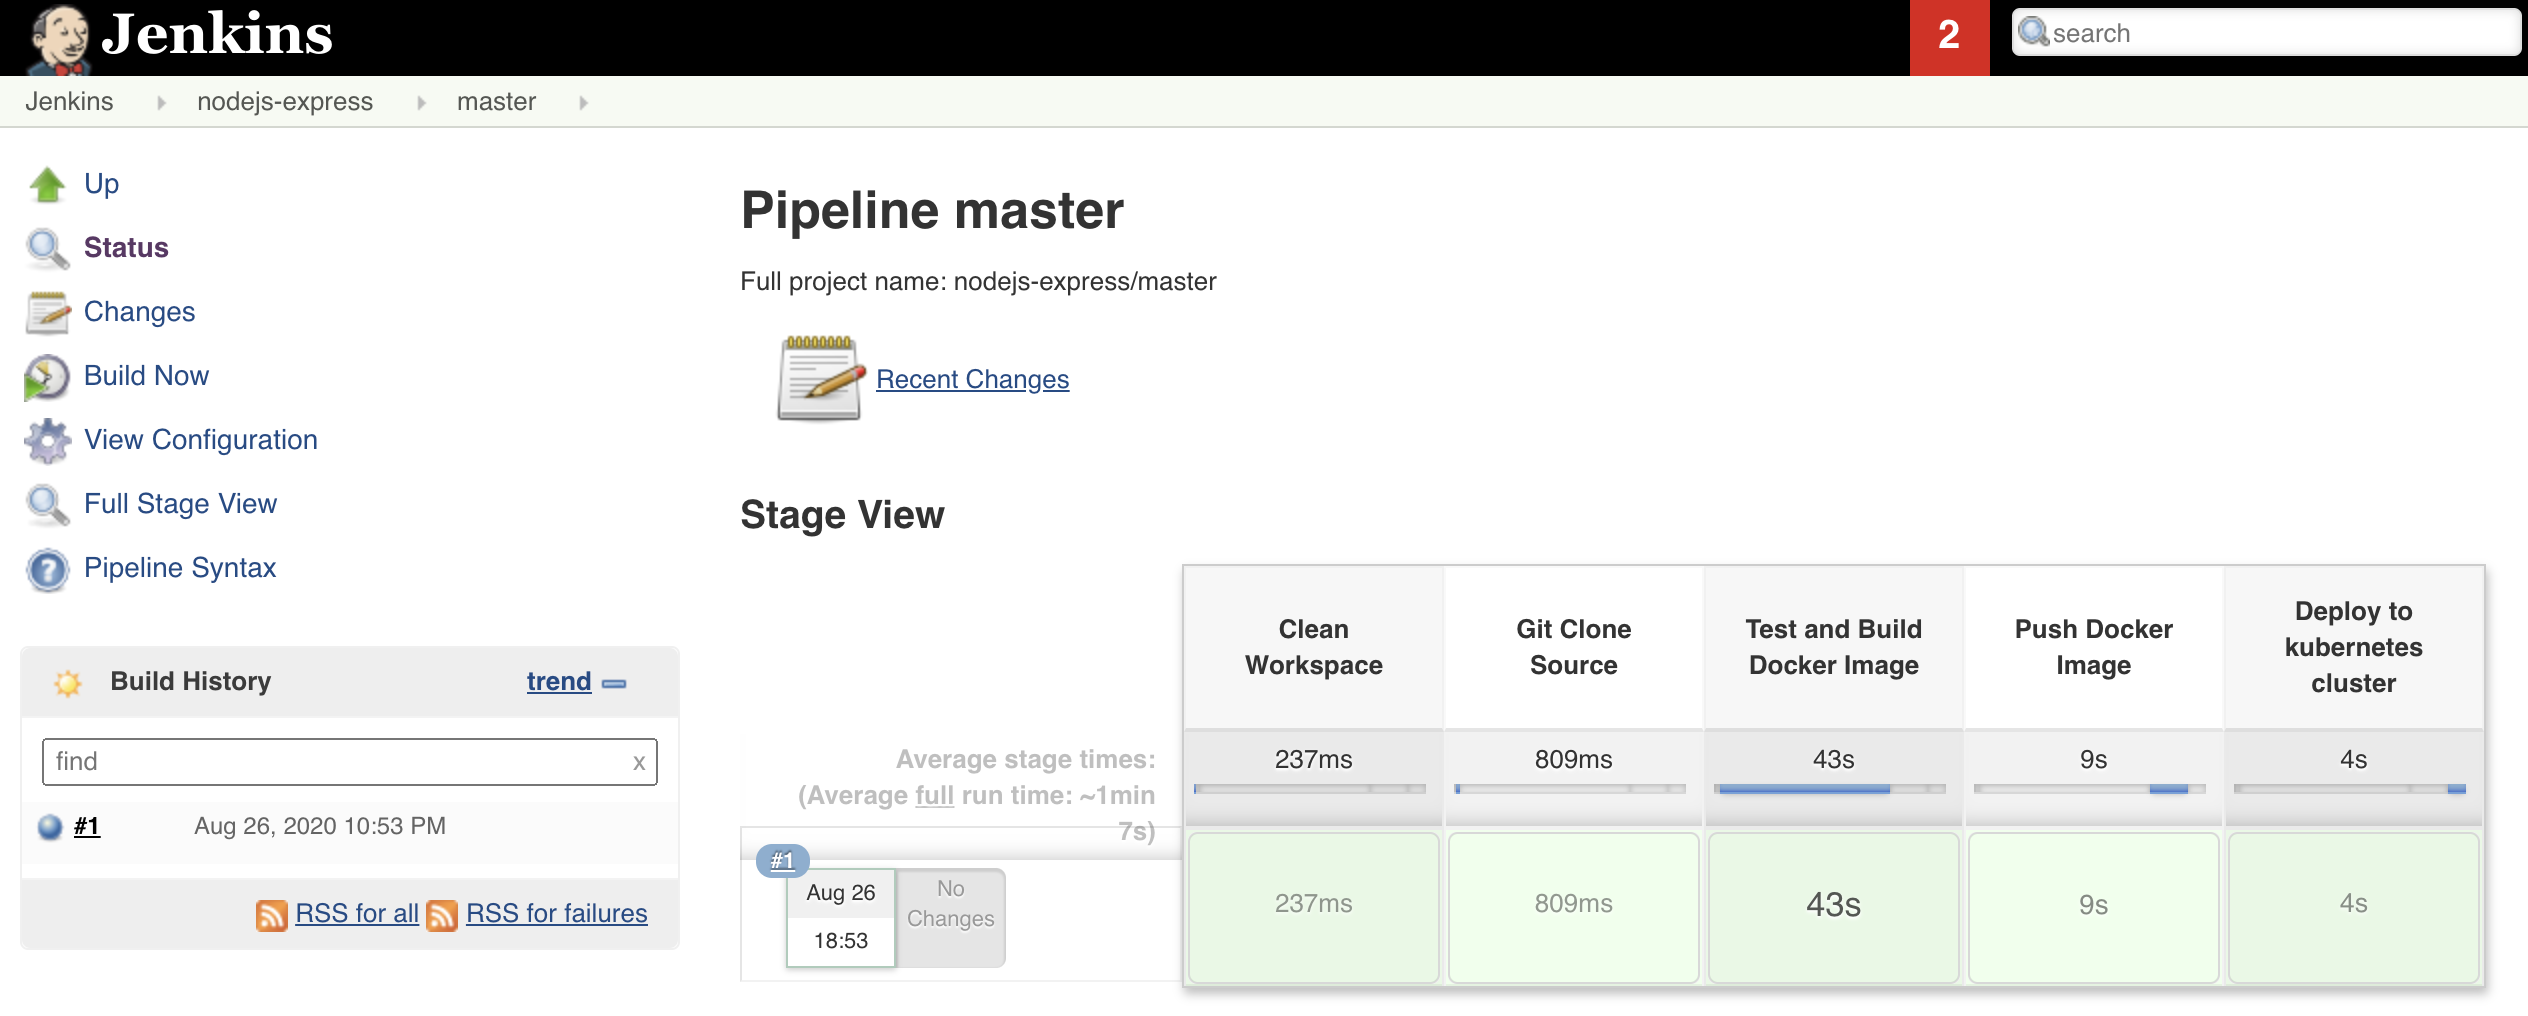
Application is now accessible at http://node_ip:8080
Conclusion
This is a simple CI/CD pipeline, this might not be flexible enough for your environment or you might want to add a manual validation before deploying new releases to your cluster. But I hope this blog gave you some ideas.
You could also add a security scan stage with clair, aquasec, or twistlock.
Hope you guys liked it, see you soon ;)